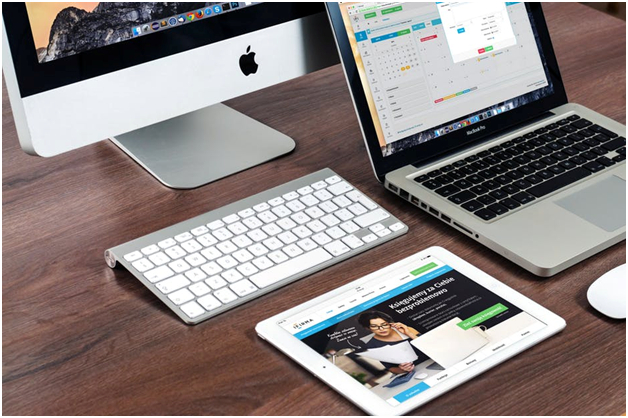
Did you know that screened devices now account for 90% of media consumption? After all, televisions are no longer the primary source of multi-media information. Many don’t even rely on their TVs anymore; instead, they use their computers, tablets, or phones.
Moreover, computer makers, such as Apple, have made screen sharing even more accessible.
So, if you own a Mac computer, you can share or extend your Mac’s screen on another device’s screen. That other device doesn’t even have to be yours!
This guide will show you how screen sharing works on Mac computers, so be sure to keep reading.
AirPlay It
If you want to share your Mac screen with a smart TV, you can do so using Apple’s very own AirPlay service. It’s a wireless screen-sharing program built into OSX, macOS, and iOS devices. If you enable this, your AirPlay-compatible TV will mirror your Mac’s screen.
To use AirPlay, you need to connect your smart TV to the same Wi-Fi network as your Mac. Then, open System Preferences on your Mac and click Displays. Next, look at the bottom of the screen; there should be a drop-down menu labeled “AirPlay Display.”
Click the menu and then choose the name of the smart TV you want to share your Mac’s screen with. Your TV should now display whatever is on your Apple computer’s screen.
Hardwire Your Mac to an Older High-Definition Television
If you don’t have a smart TV or one compatible with AirPlay, you can go old-school and use an HDMI cable instead. This way, you can share, mirror, or extend your Mac’s screen with your high-definition TV.
If you have an older Mac with an HDMI port, you can plug in a regular HDMI cable. If your Apple computer only has Thunderbolt ports, though, you need a Thunderbolt to HDMI cord.
Once the cord is all set up, launch System Preferences and then Displays on your Mac. So long as the cable works, the next window should show you a list of display options. From there, select the option that says “Default for Display,” and your TV should now mirror your Mac screen.
Plug in a Second Computer Monitor
According to researchers, having a bigger screen area may help you get more work done. As such, you might want to expand your Mac’s desktop real estate using a second computer monitor. You can even plug in two extra screens, but this depends on how many ports your Mac has.
In any case, you need a video cable for each external screen you want to connect to your Mac. As with the HDTV connection, one end of the cord must have a Thunderbolt port, which you need to plug into your Mac. The other end of the cable then goes into the other computer screen.
After that, you can follow the same instructions for hardwiring your Mac to an HDTV.
Screen Share With Another Mac Computer
Your Mac also has a built-in screen share technology that allows access from another Mac. The other Mac has to be on the same network, such as a shared home or office network. If you share your screen using this service, the other Mac user can access your desktop and apps.
To enable this macOS or OSX screen sharing option, open the System Preferences pane. Then, click Sharing. On the next window, put a checkmark on the box beside Screen Sharing.
If you want to share your screen with anyone on your local network, select All users. If you want to restrict access to specific users, then be sure to choose the “Only these users” option.
Download and Use Apple Remote Desktop
If you have more than one Apple computer, say, an iMac and a MacBook, you can use one to access the other remotely. You can do so using the Apple Remote Desktop service available for download at the Apple App Store.
With Apple Remote Desktop, you can share your screen and also make changes to the computer. For example, you can control the other Mac computer, send it messages, copy items, lock its screen, or even log it out.
To enable Apple Remote Desktop, get it from the App Store first and install it on both devices. Then, go to System Preferences, select Sharing, and tick the Remote Management checkbox.
From there, a pop-up window should appear where you can choose the actions you can do with the other Mac. As soon as you click Okay, you should once again see the Sharing pane.
On that window, select Only these users, and then tap the + button. Next, add your other Apple computer user account to the list, and finally, hit Select.
Enable Screen Sharing on an App
Some video-conferencing apps, such as Zoom, come with screen-sharing options. This is a handy feature if you need to show the folks you’re in a call or conference with something on your Mac screen. A good example is showing them a step-by-step guide on how to do something on a computer.
The exact way to enable app-based screen sharing depends on the app itself, though. For example, if you use Zoom, you should find the screen share option in the app’s meeting controls section. If you’re on Skype, click the screen recording option within the app and grant it access.
Share Away
There you have it, your ultimate guide on how to share, mirror, or extend the screen of your Mac computer. From AirPlay to Apple Remote Desktop, there are plenty of ways to show what’s on your Mac to other people. So, the next time you need other people to see what’s on your Mac, feel free to refer to this guide.
Speaking of which, would you like to learn even more nifty hacks to get the most out of your gadgets? If so, then be sure to have a look at our other recent informative how-to articles!


