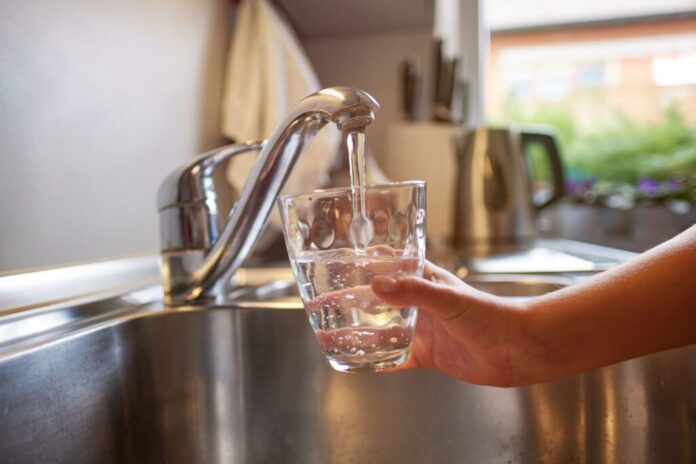
Sooner or later, almost all of you will learn how to clean the dispenser. Sometimes we think that maintaining and cleaning the dispenser is easy, but many important things need to be considered so that the process runs smoothly and successfully. Apart from the different types of automatic water dispensers, several different ways to clean and maintain the dispensers are different. However, dispenser maintenance and cleanliness is just as essential no matter what type of dispenser you have.
Especially since dispensers are essential for everyday life, understanding how to clean and maintain an automatic water dispenser is necessary. Do regular cleaning to avoid unwanted dirt and residue that might mix with the water you drink.
Here are the 7 tips for maintaining and cleaning your automatic water dispenser optimally. Don’t forget to take enough time to be more thorough and thoroughly clean!
Unplug the power cord
The first step in cleaning an automatic water dispenser needs to be done so that the following steps are easier to complete. Unplugging also prevents you from shorting or getting electrocuted. For this step, cleaning the dispenser tends to be the same for both types of dispensers.
Before proceeding to the next stage, make sure there is no water residue attached to the essential parts. Dry any areas you think need securing.
Remove the components to be cleaned
In this section, cleaning the top gallon dispenser will tend to be more accessible. This is due to the need to remove the associated gallon to clean the bottom gallon dispenser. However, how to clean the bottom gallon dispenser is a little more complicated due to many components.
Clean the vulnerable parts
The way to clean the top gallon dispenser in this section is to focus on the inside. That’s where the most accessible part gets dirty. Clean with a cleaning solution and hot water. Please wait for the solution to react in under five minutes, then drain it through the dispenser tap.
To clean the bottom gallon dispenser, focus directly on the body. Immediately, wipe with the lime mixture. Once clean enough, use hot water to rinse it. Next, rinse sufficiently with boiled water to remove any unwanted residue—either chemical or lime. Ideally, four rinses will suffice.
Clean the taps and valves
Cleaning the dispenser in this section is very important, considering that this section is directly in contact with and adjacent to the water we drink. Try to use a lime solution to clean this area, and don’t try to avoid using chemicals. Besides, it will be unhealthy if it sticks with our drinking water, it will bring additional work because of the need for extra careful rinsing afterwards.
Try to take the time to remove your automatic water dispenser taps and valves for a better inspection of cleanliness. Removing them makes cleaning these components easier and easier to maintain. If you don’t have enough time to remove the taps and valves, wiping them straight away is fine, but use a suitable rag such as a wet tissue specifically for cleaning cutlery.
Clean the vacuum pipe section
This tip is specifically for the bottom gallon type dispenser. Its structure gives it particular components. Open the dispenser body and take a Z-shaped pipe. To remove the Z-shaped tube from the main pipe, remove the blue ring-shaped lock. Once removed, wash it off with the cleaning solution of your choice and rinse it off with enough hot water when it’s clean enough.
Dry all parts
So that your efforts are not in vain, make sure the parts that have been wiped and cleaned are dry. Remove any liquid residue with a clean, dry cloth. Especially pay attention to the inner details as they are pretty easy to miss.
Carry out a final inspection to make sure the components are dry. Complete this step by fitting the dispenser parts back to normal.
Clean the outside parts
After cleaning the inside of the dispenser, don’t forget to pay attention to the cleanliness of the outside of your automatic water dispenser. Stains and bacteria that may stick to the outside of the dispenser need to be cleaned to make it less likely to spread to other parts. You can use ordinary clean cloth or synthetic cloth to clean the dispenser effectively. Make sure the cleanliness of the rags you use for maximum results for the cleanliness of your dispensers.
That’s how to clean and maintain the automatic water dispenser you need to get maximum results. The most important key is to make detailed observations of the parts that are being cleaned.


